Storylet Studio Desktop
Storylet Studio ships as a desktop app for macOS (Apple Silicon) and Windows (x64). It's the same authoring tool as the web version, packaged to run locally with no login and no internet connection. Your project lives in a single file on your computer, not in someone else's cloud.
Install
Grab the installer from the website:
- macOS - open
Storylet-Studio-<version>-mac-arm.dmg, drag Storylet Studio into your Applications folder, then launch it from Launchpad or Spotlight. The app is signed and notarized, so macOS opens it without warning. Apple Silicon (M1, M2, M3, …) only - Intel Macs aren't supported. - Windows - run
Storylet-Studio-Setup-<version>-win-64.exe. The installer lets you pick the install location and per-user / per-machine scope. The current release isn't code-signed yet, so SmartScreen will say "Windows protected your PC" - click More info > Run anyway to continue.
Updates
Storylet Studio checks for updates each time you launch it and downloads new versions in the background. When a download finishes you'll see a Restart now / Later prompt; Later keeps your current session, and the update installs next time you quit.
You can also check on demand from Help > Check for Updates… (on macOS this also lives in the Storylet Studio app menu). If something goes wrong, Help > Show Update Log opens the updater's log file in Finder / Explorer so you can attach it to a bug report.
If you'd rather skip the auto-updater and grab a build directly, the installers at https://download.storylet.studio are the same ones it fetches.
Projects are files
A Storylet Studio project is a single .storyletstudio file you save anywhere on your computer (Documents, Desktop, a Dropbox or iCloud folder if you want to sync between machines, version control if you want history). Inside the file is everything the project needs: storylets, world properties, the storymap, image assets, whiteboard layout - the lot.
Because the project is just a normal file, you can:
- Copy it to another machine - it'll open exactly as you left it.
- Email it to a collaborator (one person at a time - see "Two windows" below).
- Back it up however you back up the rest of your work.
- Open it by double-clicking in Finder / Explorer (the installer registers the
.storyletstudioextension with your OS).
File menu
| Menu item | What it does |
|---|---|
| New Project… | Pick a location, name the file, start with an empty storyworld. |
| Open Project… | Open an existing .storyletstudio file. |
| Open Recent | Re-open a project from a list of files you've opened before. Clear Recents wipes the list. |
| Close Project | Close the current file (prompts to save if you have unsaved edits). |
| Save | Write your changes to disk. Storylet Studio also saves automatically as you work. |
| Save As… | Write a copy to a new location. |
The macOS keyboard shortcuts are the standard ones: ⌘N, ⌘O, ⌘S, ⇧⌘S, ⇧⌘W. On Windows, swap ⌘ for Ctrl.
Saving and unsaved changes
Storylet Studio saves your project to disk a moment after you stop editing, so you'll rarely need to hit Save by hand. If you try to close a window or quit the app with unsaved changes still in flight, you'll see a Save / Don't Save / Cancel prompt so nothing gets lost.
Two windows on the same file
Only one Storylet Studio window can edit a given .storyletstudio file at a time. If you try to open a project that's already open in another window (on this machine, or another one if the file sits in a synced folder), the second window won't take the lock and will tell you the file is busy. Close the first window, then re-open.
Working with version control
Storylet Studio projects are built to live in version control alongside the rest of your game's source. A few things to know if you're using one:
Treat the file as binary
.storyletstudio is a zipped archive (JSON, images, and other assets bundled together). Always commit it as binary. A text-mode merge of a zip produces a corrupt file the app can't open, even if the diff looks small.
- Git - the repo's
.gitattributesshould include*.storyletstudio binary -text -merge. The Storylet Studio repo itself sets this; if you keep your project in a separate Git repo, add the same line. - Perforce / Helix Core - set the file type to
binary+lin your typemap (the+lflag enforces exclusive checkout, so two people can't edit the same project file in parallel and produce conflicting versions):binary+l //....storyletstudio - Plastic SCM, Subversion, Mercurial, etc. - same idea: configure the file as binary, ideally with exclusive-checkout or locking enabled.
Read-only files
Locking VCSes (Perforce, Plastic, Helix Core, etc.) keep workspace files read-only on disk until you explicitly check them out. Storylet Studio handles this gracefully:
- When you open a read-only project, an amber File Is Read Only badge appears in the top right straight away, before you've made any edits. You can still browse, simulate, and inspect the project - you just can't save.
- If you start editing anyway, the badge changes to File Is Read Only - unsaved changes and gains an inline Save As… button. Your edits are buffered in memory; nothing is lost.
- When you check the file out (from your VCS tool, while Storylet Studio is still running), the app notices within a few seconds, the badge disappears, and any pending changes auto-save to disk. No need to remember to click Save.
- If you check the file back in mid-session, the badge reappears - same buffered-edits behaviour as above.
- If you try to close the window with unsaved-because-RO changes, you'll get a Save As… prompt instead of the usual Save / Don't Save, so a forgotten checkout doesn't cost you work.
What if the file disappears?
If the project file vanishes from disk while you're working (someone reverted the workspace, the network share unmounted, the file moved), a red File no longer exists - Save As badge appears. Your in-memory edits are still safe; click Save As… to write them somewhere new and recover.
Image assets and merges
Because the file is binary, two people editing the same project at once will produce conflicting versions the VCS can't auto-merge. The exclusive-checkout pattern (recommended above) heads this off by serialising edits at the lock layer. If you're using Git without locking, coordinate with your team out-of-band ("I'm editing the storyworld for the next hour"), or split the work into separate .storyletstudio projects.
Publishing
The Publish tab works the same way as in the web app: it produces a self-contained .storyworld bundle that any Storylet Studio runtime can play (the standalone HTML player, the Village sample game, the Unreal plugin, etc.). On the desktop app the bundle goes to a file on disk that you choose, rather than up to cloud storage. The path you picked last time is remembered per project, so re-publishing is a one-click affair.
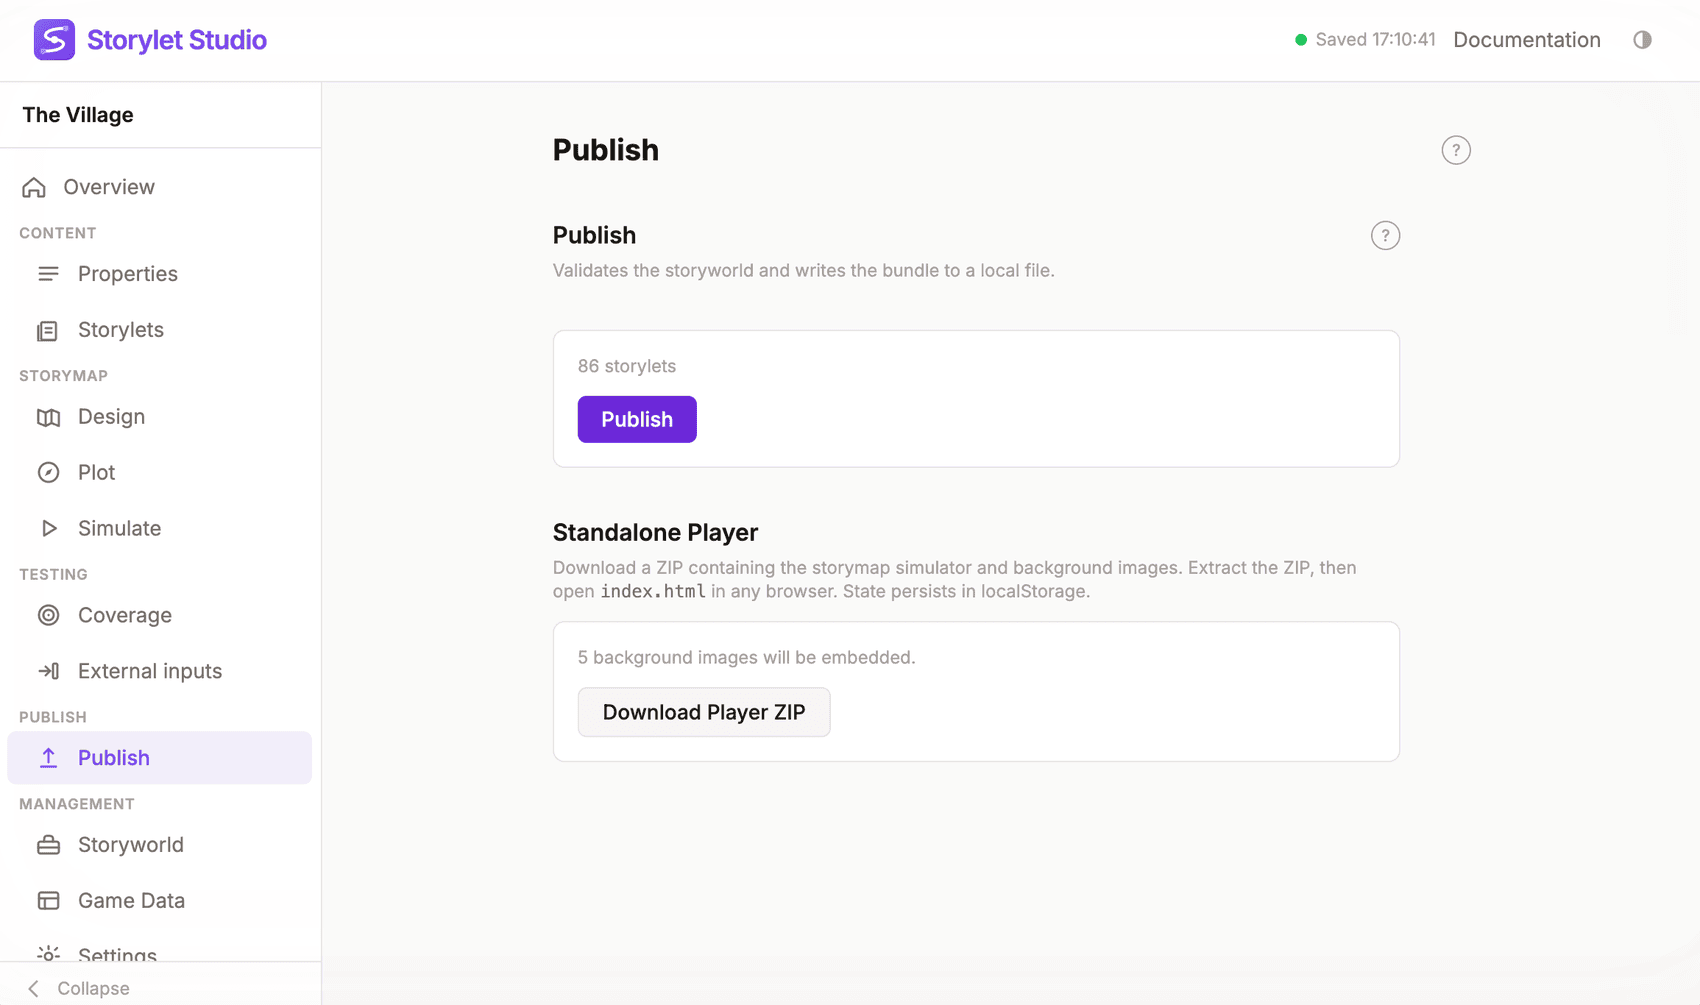
Once you've got a .storyworld, ship it however you like - alongside a static HTML player, embedded in a game, attached to an email. The runtime is offline-only and doesn't depend on Storylet Studio itself.
What's different from the web app
- No login. Open the app and get straight to work. There's no account system - your file is your work.
- No multi-user editing. A
.storyletstudiofile is a single-author artefact. Use the file lock plus version control if you collaborate. - No database costs, no privacy footprint, no upload. Everything stays on your machine until you choose to share it.
The authoring experience itself - storylets, properties, storymap, whiteboard view, expressions, Game Data, simulation - is identical to the web app. See Core Concepts and Writing Conditions and Outcome Values for the authoring fundamentals.